
Several years ago I purchased a Lego NXT 2.0 as a learning tool, not too long afterwards Lego came out with the updated EV3. This article is my views on why it is a wonderful learning tool and my approaches to learning with it.
What I Believe Can be Learned From Working with Lego Robots
* Mathematics
* Logic Skills
* Spatial Ability
* Patience
* Problem Solving Skills
* Mechanical Aspects such as gear ratios
* Limitations and Adjusting to Changing Conditions
* Working with various Electronic Sensors
* Basic Robotics

Working With Electronic Sensors
I believe becoming familiar with sensors that are attached to microprocessors will help a person understand much of what is happening in this digital age. For example the modern automobile has so many sensors for such functions as detecting if a door is open, if the wheels are slipping, if tire pressure is low, to help with braking, and to accurately meter the fuel going into the engine.

Orange indicator on the left indicates tires are slipping, indicator on the right shows the tire pressure is low.
My Background in Computers

My background in computer programming goes back over 30 years, my first computer was the Texas Instruments TI 99/4a computer. After taking one community education class I taught myself to program in the BASIC programming language and sold programs through the mail.
It became apparent that I enjoyed working with computers and if I wanted to do this as a career a 4 year degree in Computer Science would be needed. I had an associates degree so it only took me a couple of years to complete the 4 year degree in Computer Science.
In my first job after college I wrote programs in the COBOL programming language. The programming languages of this time were text based languages typed into a text editor format, the mouse was not available yet.
NXT-G that is the programming language included with the NXT is a graphical programming language which is somewhat different using on-screen icons and configuration panels. My experience working with computer logic has helped a great deal however.
Conventional Interfaces of Personal Computers
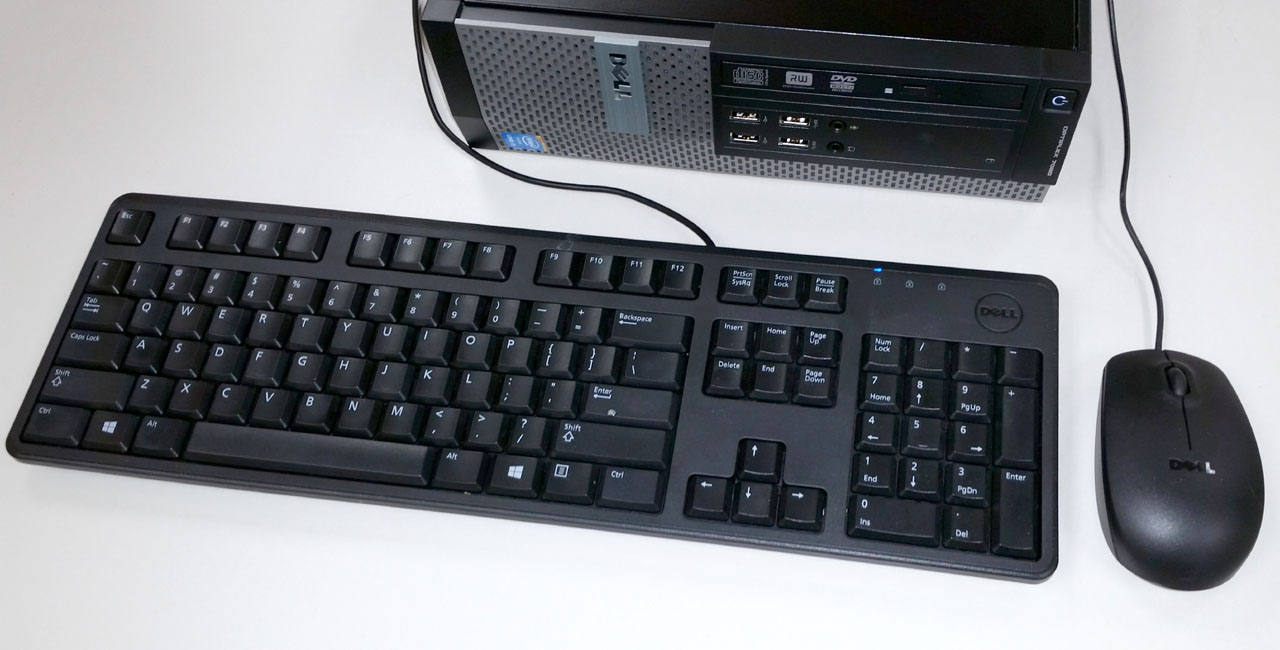
Conventionally most input into a computer was through a keyboard or mouse. Input can also be read from a disk drive, a network connection, or through the Internet.

Output was to a computer monitor displaying text, graphics, and in more recent years video with sound or to paper using a printer.
My Background in Assembling Projects
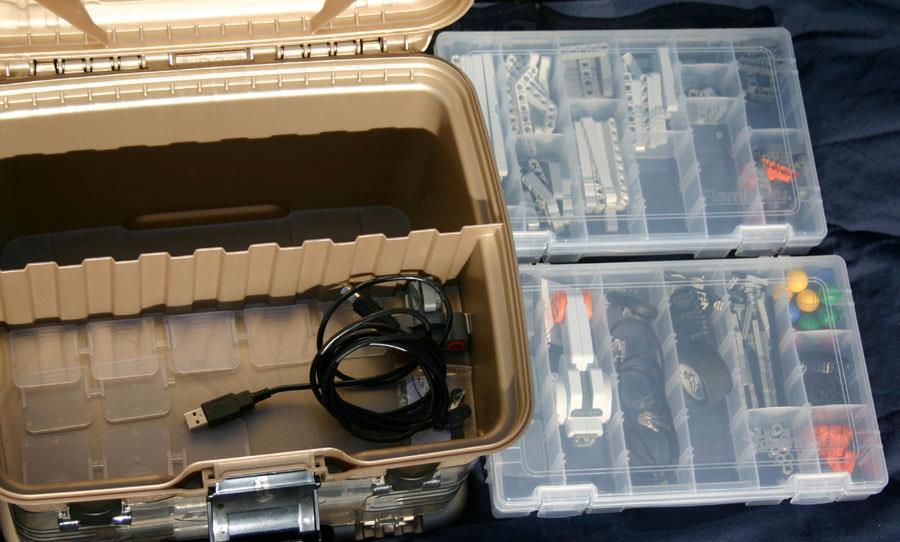
If you have looked at other articles on this website you know I have assembled many model airplanes and other types of kits. I have found working with the Lego NXT many pieces rather challenging but I think younger people will have an advantage in that they built with Lego pieces before. For me there was a real challenge getting the correct friction fit connectors and building pieces snapped together, much different than cutting and gluing balsa wood pieces. There are a whole lot of pieces so I suggest a method for keeping the pieces organized, I found a tackle box that has worked well.
Programming the Lego Robot

The Lego NXT has a computer unit but the programming must be done on another computer and then the programming code is downloaded to the processing unit of the NXT. The NXT then gets input mainly through sensors attached to processing unit through cables.
Sensor Input to Lego Robot

Touch Sensors Ultrasonic Sensor Color/Light Sensor
Although the buttons on the front of the Lego CPU can take input more likely input will be from these three types of sensors. Touch sensor is like an on/off switch. Ultrasonic sends out sound waves that you cannot hear and measures the time to bounce off objects to calculate distance from the object. Color sensor can detect the color of objects or light intensity.
Output to Lego Robot

Output from the processing unit is normally to one to three electric motors that can be controlled in precise ways. Output can be directed to the small screen, audio from a small internal speaker, and the color sensor can admit light in different colors.
My Approach to Learning Lego Robotics
I began experimenting by assembling projects I found in books and the Internet. I typed in the programming code corresponding with those articles; occasionally I would make a mistake and have to debug the programming. After assembling and operating the more complicated projects, I decided I would assemble a basic robot of my design and concentrate on learning the programming code approaches for following a black line on the Lego test pad.

My Early Approach to Learning Lego Robotics

To become familiar with the components and assembly I started with simple projects and then tried progressively harder projects that I found in books and on the Internet.
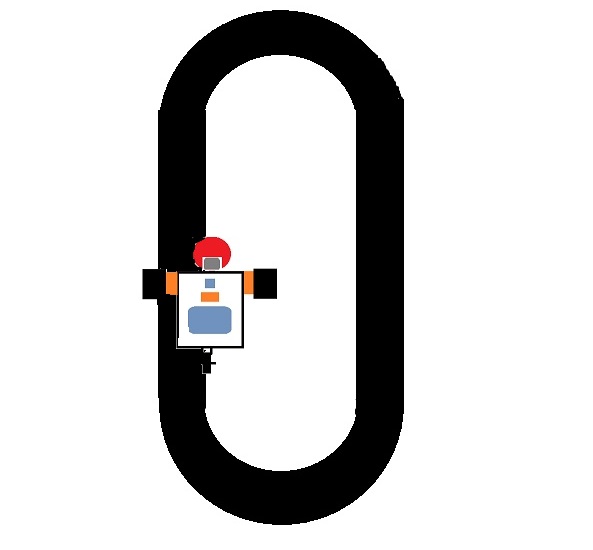
Following a Black Line

I built a basic robot that uses two motors in front with a single castor wheel in the rear. The color/light sensor is mounted out front in the center. Ultrasonic sensor seen mounted on top of the robot is not used at all for line following but for other experiments.
Lego Test Pad I Used for Line Following
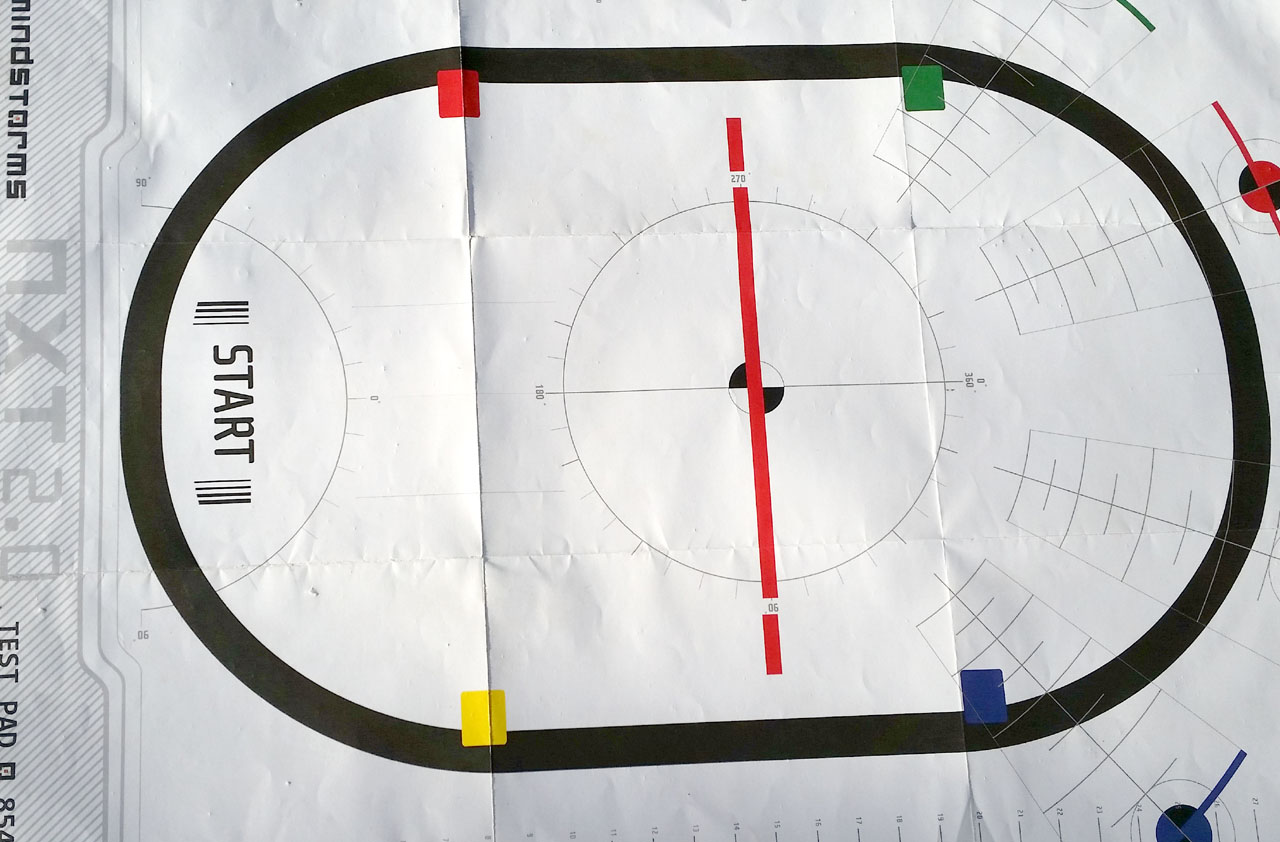
When I purchased my Lego NXT 2.0 this test pad was included, all of the testing of line following has been performed on this pad. Note that there are four colored squares towards the inside of the track. When the robot was following the inside of the track, it would often wobble but regain the line follow quickly.
Turning by Adjusting Power Level to Two Wheels

Steering a line following robot is normally done by varying the speed independently on two wheels. Another wheel acts a castor wheel to keep the robot balanced. This technique is seen in other equipment such as riding lawnmowers and electric wheelchairs.
My Approach to Learning Line Following with Lego Robot
From books I had purchased and articles on the Internet I tried several line following programs with the robot I had built. Some of the programs required a small amount of modification to work correctly for me. Other times I adjusted parts of the code to see what difference it might make. I studied the code carefully to understand exactly how it functioned and carefully observed the robot running around the track noting how well it followed the line. Some of the coding was very simple and other was more complex.
How Light Sensor Reads Light Values

The light sensor reads value from reflected light between a paper track and the sensor with a gap that is normally 1 centimeter. Values returned are between 0 to 100 with lower number darker and higher number lighter, actual values are normally of a smaller range.
Robot Checking the Edge Between White and Black
It is the edge between the white and the black that the robot is trying to follow. The reflected light at this edge will be somewhere between values for white and black.
Robot Enters Completely White Area on the Inside of the Track

The robot should turn to the left. With some algorithms this will produce a larger turn to the left.
Robot in Center of Black Area

At this point the lowest light level should be detected, the robot should now turn back to the white area.
Robot Escapes to White Outside of Track

At this point there is no black to look for and the robot will be lost.
Simple Two State Line Follow

In this simple algorithm the light level is checked if it is above a certain level. If it is higher the robot will turn left otherwise it turns right. The path around the track will appear to wobble a great deal.
For my robot and lighting situation the light level at the edge of black and white was 32, the logic for the code was:
If light level > 33 turn Left
Else turn Right
Three State Light Level Check and Direction

With an algorithm that checks for three light level conditions the robot can be directed to drive straight as well.
One of the programs I ran used two programming loops with two switches allowing for three conditions corresponding with three directions; left, straight, and right. The logic went something like this:
If light level > 40 turn Left back towards black line (the robot is far from the black seeing only white)
Else drop into Inside Loop
If light level > 32 Go Straight ( the robot is approaching the edge of the black line so go straight)
Otherwise turn Right ( at this point robot is over black line so turn right back towards the edge)
Parallel Processing Using Formulas
This program that I found has three loops running at the same time, parallel processing. The first loop read the light sensor value into a variable. The other two loops each control one motor using a formula that subtracts and multiplies the number stored in the variable resulting in a power level value that controls the motor.
http://stefans-robots.net/en/fuzzy-line-follwing-nxt-robot.php